 how-to
5 Steps to Measure Soil Microbial Activity for Crop Health
Last Updated: 24 October 2026
Quick Summary
To measure soil microbial activity for crop health, conduct a soil respiration test by incubating 100 grams of moist soil in a sealed jar with sodium hydroxide for 7 days at 20-25°C, then measure the CO₂ absorbed to quantify microbial respiration. Alternatively, use simpler decomposition methods such as burying tea bags or cotton strips for 90 days and measuring mass loss, or send samples to a laboratory for microbial biomass testing using the fumigation-extraction method.
- Healthy soil shows respiration of 8-15 mg CO₂ per 100g soil per day; below 5 mg indicates concerning low activity.
- Sample from the top 15-20 centimetres using 8-10 cores mixed together, ideally in spring or autumn, and process within 24 hours.
- High microbial activity allows you to reduce synthetic fertiliser by 10-20% without yield loss as microbes cycle nutrients more efficiently.
- Boost microbial activity through reduced tillage, adding organic matter, crop rotation, and strategic use of biostimulants like AminoA.
- Test soil microbial activity at least once yearly and compare results year-on-year to track whether management practices are improving soil biology.
Table of Contents
- Why Measuring Soil Microbial Activity Matters for Your Crops
- What You'll Need Before Testing Soil Microbial Activity
- Conducting a Soil Respiration Test to Assess Microbial Activity
- Soil Microbial Biomass Testing: Quantifying Active Microbes
- Soil Sampling for Microbial Analysis: Collection and Storage
- Interpreting Soil Biology Test Results and What They Mean
- Using Microbial Data to Optimise Your Crop Nutrition Strategy
- Frequently Asked Questions
Why Measuring Soil Microbial Activity Matters for Your Crops
Soil microbial activity is the engine of soil health.
Most growers focus on NPK numbers and miss the bigger picture. Your soil contains billions of microorganisms, bacteria, fungi, protozoa, that do the real work. When microbial activity drops, nutrient cycling stalls.
Here's what changes when you start measuring it: you get data instead of guesses. You can track whether your management practices are actually improving soil biology.
We recommend measuring soil microbial activity at least once a year, ideally in spring before major growth phases. How to improve rhizosphere microbial activity explores ways to actively boost the microbes you're measuring.
What You'll Need Before Testing Soil Microbial Activity
Before you measure soil microbial activity, gather the right equipment. You don't need a lab, most methods use basic items you can source easily.
Essential equipment:
- Soil sampling tools (auger, spade, or probe)
- Clean containers (glass jars or plastic bags)
- Thermometer
- pH meter or pH test strips
- Ruler or measuring tape
- Notebook or digital recording method
- Cool box with ice packs (if sending samples to a lab)
Optional but useful:
- Respirometer kit (for advanced respiration testing)
- Cotton strips or tea bags (for decomposition monitoring)
- Magnifying glass (for visual inspection of soil structure)
Cleanliness matters. Use sterilised containers to avoid cross-contamination between samples. If you're comparing multiple fields or management zones, label each sample clearly with date, location, and field history.
Temperature control is critical. Microbial activity changes with temperature. If you're storing samples before testing, keep them cool and process them within 24 hours where possible. For lab submission, follow your testing provider's instructions on storage and transport.
Conducting a Soil Respiration Test to Assess Microbial Activity
Soil respiration measures how much carbon dioxide microbes release as they break down organic matter. Higher respiration means more active microbial communities. It's the most straightforward way to measure soil microbial activity in the field.
The basic method takes 7-10 days:
-
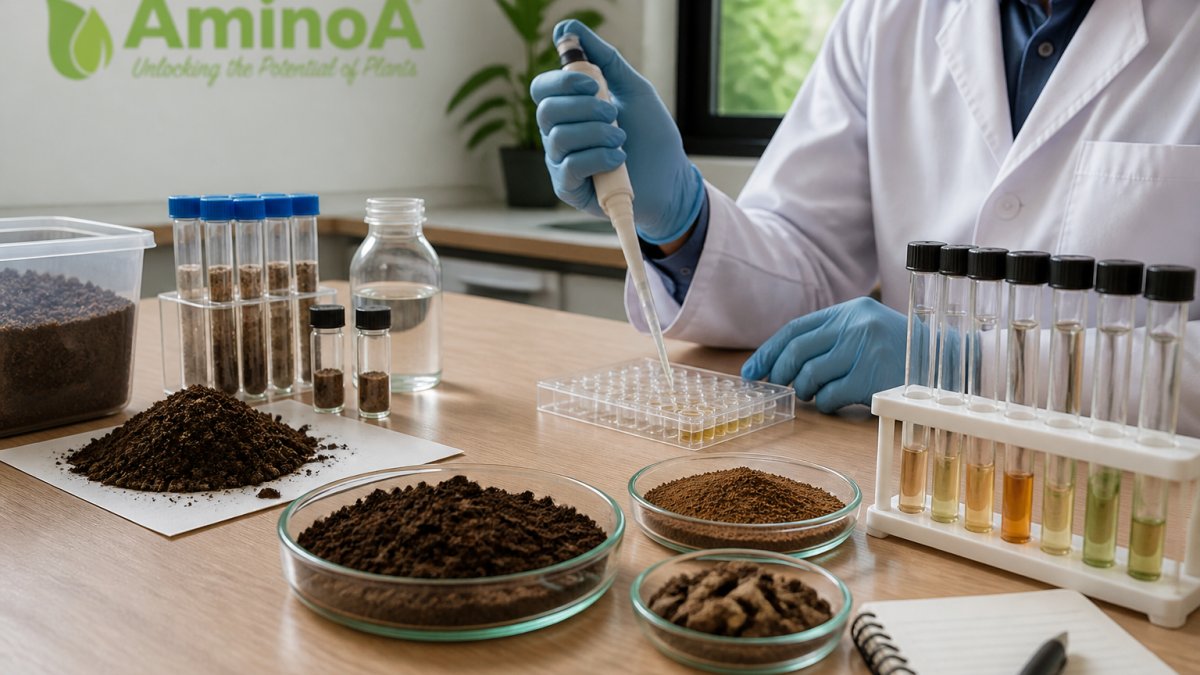
Collect your soil sample from the top 15 centimetres. Take multiple cores from across the field and mix them together to get a representative sample.
-
Prepare the incubation jar. Place 100 grams of moist soil (not waterlogged) into a clean glass jar with a lid. The soil should feel like a wrung-out sponge, damp but not dripping.
-
Set up CO₂ capture. Place a small container of sodium hydroxide solution inside the jar (a shot glass or similar). The hydroxide absorbs CO₂ released by microbes. Seal the jar tightly.
-
Incubate for 7 days at a stable temperature, ideally 20-25°C. A cupboard or cool room works fine.
-
Measure the CO₂. After 7 days, remove the hydroxide solution and titrate it (or use a commercial test kit) to measure how much CO₂ was absorbed. Higher values indicate more microbial respiration.
A comparison of methods for measuring soil microbial activity published in Agriculture examined respirometry alongside cotton-strip-assay methods. Respirometry is reliable and reproducible across different soil types.
Watch out: if your soil is too wet or too dry, respiration rates drop artificially. Microbes need moisture to function, but waterlogged soil becomes anaerobic and skews results. Adjust soil moisture to match field conditions.
How to measure rhizosphere microbial activity covers more precise lab-based respirometry if you want deeper detail.
Soil Microbial Biomass Testing: Quantifying Active Microbes
Microbial biomass tells you the total mass of living microorganisms in your soil.
The fumigation-extraction method is the standard lab test:
How it works:
- Soil is fumigated with chloroform to kill all microbes
- The organic carbon released by dead cells is extracted and measured
- A fresh soil sample is also extracted without fumigation
- The difference between the two measurements equals microbial biomass
This requires lab equipment and expertise. If you're serious about tracking soil health over time, send samples to an accredited soil testing laboratory.
Alternatively, use simpler decomposition-based approaches. Tea bags and cotton strips provide an estimate of how quickly your soil breaks down organic matter, a proxy for microbial biomass and activity combined.
The Soil CRC identifies microbial biomass, diversity and activity as key microbial indicators alongside carbon fractions and specific pathogens. This multi-indicator approach gives you a strong assessment.
The key insight: biomass alone doesn't tell you if your microbes are doing useful work.
Soil Sampling for Microbial Analysis: Collection and Storage
How you collect and store soil samples determines whether your results are valid. Microbial communities are sensitive to temperature, oxygen, and time. Poor sampling technique wastes time and money.
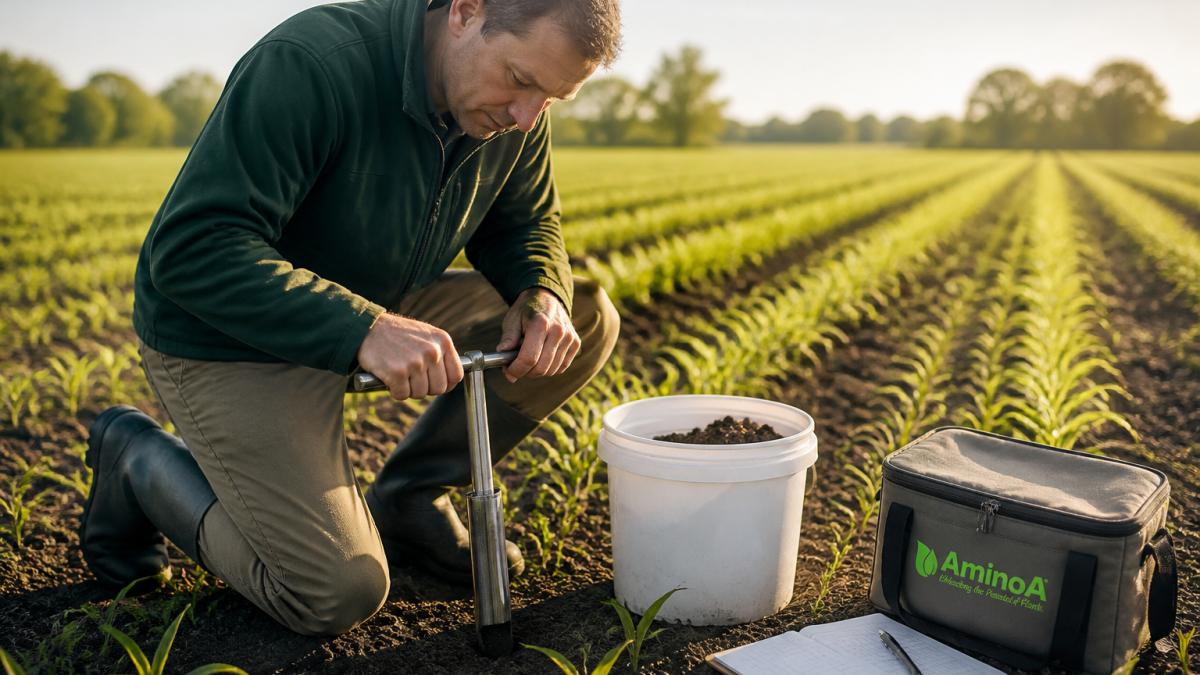
Sampling protocol:
-
Take multiple cores. Don't sample just one spot. Take 8-10 cores from different parts of your field and mix them into a single composite sample. This averages out variability and gives you a true field picture.
-
Sample the active root zone. For most crops, this is the top 15-20 centimetres. Go deeper for perennial crops or if you're investigating subsoil issues.
-
Avoid contamination. Use clean tools. Don't sample near field edges, tracks, or areas with obvious problems, unless you're specifically investigating those zones.
-
Time your sampling. Spring (March-April) and autumn (September-October) are ideal. Avoid sampling immediately after heavy rain or during drought stress, when microbial activity is skewed.
-
Handle samples carefully. Place soil in clean, sterile containers. If you're sending samples to a lab, use their supplied containers if available. Store samples in a cool bag with ice packs.
-
Process quickly. Microbial communities change rapidly. If you're doing your own testing, process samples within 24 hours. For lab submission, follow their timeline, most labs want samples within 3-5 days of collection.
Keep a detailed record: field name, GPS coordinates, date, soil type, recent management history, and any visible issues. This context helps interpret results.
Interpreting Soil Biology Test Results and What They Mean
Raw numbers mean nothing without context.
Respiration benchmarks (varies by soil type and climate):
- Healthy, active soil: 8-15 mg CO₂ per 100g per day
- Moderate activity: 5-8 mg CO₂ per 100g per day
- Low activity (concerning): below 5 mg CO₂ per 100g per day
If your respiration is dropping year-on-year, your management isn't supporting microbial life. Common culprits: excessive tillage, monoculture, heavy pesticide use, or insufficient organic matter inputs.
Microbial biomass context:
- Healthy soil: 300-800 mg C per 100g soil
- Degraded soil: below 200 mg C per 100g soil
Low biomass combined with low activity suggests your soil needs rebuilding. This is where crop rotation, cover crops, and reduced tillage make a real difference.
Compare three ways:
- Against your own baseline (track the same field year-on-year)
- Against regional averages (your local agricultural college or testing lab can provide these)
- Against your management zones (compare fields under different practices)
The real value isn't a single number, it's the trend. If respiration increases 20% after you switch to reduced tillage, that's proof the practice is working. Best soil health practices for sustainable farming explains how to use these insights to refine your approach.
Watch out: don't over-interpret a single test. Microbial activity fluctuates with weather, season, and recent management. Test at consistent times and look for patterns across multiple years.
Use these benchmarks to assess whether your soil microbial activity is healthy, moderate, or concerning.
| Indicator | Healthy soil | Moderate activity | Low activity |
|---|---|---|---|
| Respiration (mg CO₂ per 100g per day) | 8-15 | 5-8 | Below 5 |
| Microbial biomass (mg C per 100g soil) | 300-800 | , | Below 200 |
Using Microbial Data to Optimise Your Crop Nutrition Strategy
Here's where measurement becomes profit. Once you understand your soil's microbial activity, you can optimise inputs and reduce waste.
High microbial activity = lower synthetic fertiliser need. Active microbes cycle nutrients faster. Organic matter breaks down efficiently. Plants access nitrogen, phosphorus, and potassium more readily.
Low microbial activity = you're fighting uphill. Synthetic fertiliser sits in the soil, unavailable to plants.
Strategies that boost microbial activity:
-
Reduce tillage. Minimise soil disturbance. Every plough pass kills microbes and disrupts fungal networks. Direct drilling or min-till preserves soil structure and microbial communities.
-
Add organic matter. Cover crops, compost, or crop residue feed microbes. They break it down, cycle nutrients, and build soil carbon. Aim for 3-5% organic matter in your topsoil.
-
Diversify crops. Monoculture starves soil biology. Different crops feed different microbial communities. A three-year rotation (cereals, legumes, brassicas) supports richer microbial diversity.
-
Use biostimulants strategically. Products like AminoA, which contain natural L-α amino acids, stimulate root development and provide readily available nutrition that supports plant growth. When combined with improved management practices, they accelerate the shift toward more active soil biology.
The Velcourt trials found that adding AminoA FLO to reduced fungicide rates maintained yields and improved green leaf area in winter wheat.
The measurement-to-action cycle:
- Test soil microbial activity
- Identify bottlenecks (low respiration? low biomass?)
- Adjust management (tillage, organic matter, rotation)
- Retest after 12 months
- Refine inputs based on results
This isn't guesswork. You're making decisions on data. Over time, as your soil biology improves, your input costs drop and your resilience increases. That's the payoff.
Frequently Asked Questions
How do you measure soil microbial activity in the field?
Soil microbial activity can be measured using three main approaches: soil respiration tests (which measure carbon dioxide release from microbial decomposition), microbial biomass testing (which quantifies the mass of living microbes), and simple decomposition methods like litterbags or tea-bag assays. Respiration tests are most common on-farm because they're relatively straightforward and provide quick results. Choose the method based on your budget, timeline, and the specific information you need about your soil's biological function.
What does soil respiration tell you about microbial activity?
Soil respiration measures how actively microbes are breaking down organic matter and releasing carbon dioxide. A higher respiration rate indicates more microbial activity and faster nutrient cycling, which generally supports better crop growth. However, respiration alone doesn't tell you about microbial diversity or the presence of specific beneficial organisms. It's one piece of the puzzle, combine it with biomass testing and physical indicators like soil structure and earthworm presence for a complete picture of soil health.
How should you collect and store soil samples for microbial testing?
Collect samples from multiple locations across your field using a soil auger or probe, taking material from the top 15 centimetres where most microbial activity occurs. Mix samples together to create a composite sample. Store samples in a cool, clean container and keep them moist (not waterlogged) until analysis. Avoid contamination and process samples as quickly as possible, ideally within 24 hours, because microbial populations change rapidly once soil is removed from the field. Your testing laboratory will provide specific instructions for your chosen analysis method.
How do you interpret soil microbial biomass results?
Soil microbial biomass is typically expressed in micrograms of carbon per gram of soil. Higher values generally indicate a more biologically active soil with greater capacity for nutrient cycling and organic-matter breakdown. However, interpretation depends on your soil type, climate, and management history. Compare your results against baseline data from your own field or regional benchmarks rather than absolute numbers. Increasing biomass over time suggests your management practices are building soil biological health, which supports long-term crop productivity and resilience.
Measuring soil microbial activity transforms how you approach crop nutrition. You move from blanket fertiliser applications to targeted, biology-driven strategies. The initial investment in testing pays back quickly through reduced inputs and more consistent yields. Start with a simple respiration test this spring, track your results, and adjust your management based on what the data tells you. Better soil biology means better crops and better returns.