 how-to
Does Soil Testing Show Crop Nutrient Deficiencies?
Last Updated: October 27, 2026
Quick Summary
Soil testing estimates the plant-available fraction of nutrients in your field, not the total amount stored in the soil. It shows which nutrients a crop can reach, but reading the result correctly depends on sampling well and comparing values against the index bands the laboratory gives.
- Sample each field zone separately where soil type, slope or past management differs.
- Read the laboratory index band rather than the raw number.
- Track results over several seasons, since one reading can be an outlier.
- Check which nutrients your package covers, as nitrogen is often not measured directly.
- Confirm the cause of visible symptoms before adding any nutrient.
Table of Contents
- What a Soil Test Actually Measures
- Soil Sampling for Nutrient Analysis: Getting a Representative Result
- Which Nutrients a Standard Soil Test Covers
- Soil Test Interpretation for Crops: Reading the Results
- Crop Nutrient Deficiency Symptoms and Why They Can Mislead
- Plant Tissue Testing for Nutrient Deficiencies
- Booking Your Next Soil Test and Acting on the Results
- Frequently Asked Questions
What a Soil Test Actually Measures
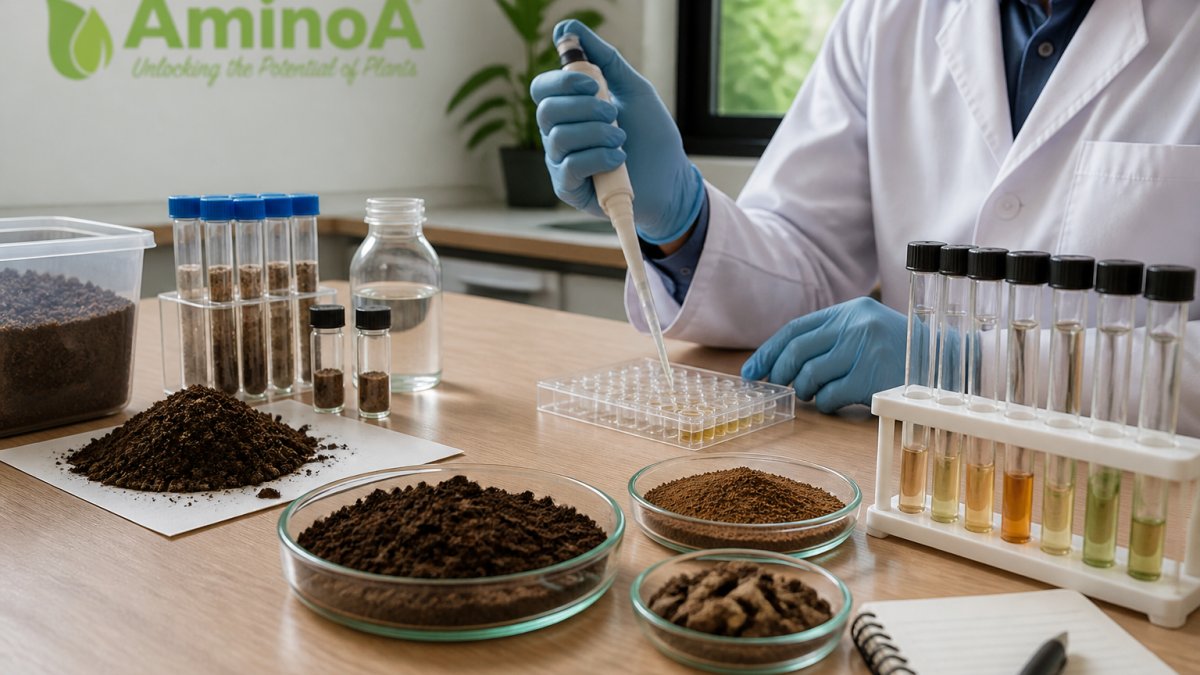
Soil testing is a laboratory analysis of a sample taken from your field, used to estimate how much of each nutrient your crop can actually reach. It does not count every nutrient molecule in the ground. Soil testing for crop nutrient deficiencies works because it measures a smaller, extractable fraction that relates to what plants take up. That distinction matters more than most growers realise.
Here is the core idea. A soil test is an estimate of plant-available nutrients, not a full inventory. The American Society of Agronomy, Crop Science Society of America and Soil Science Society of America explain that the extractable fraction is empirically linked to crop nutrient availability, rather than the total amount in the soil (Understanding the foundations of fertilizer recommendations).
Why does this matter? A field can hold plenty of phosphorus and still show a shortfall in the test, because much of that phosphorus is locked up and unavailable. Reading the result as "we have enough" or "we are short" without that context leads to poor decisions.
- A soil test estimates what is available now, not what is stored.
- Results depend on the extraction method used by the laboratory.
- Recommendations link the test value to a likely crop response.
Soil Sampling for Nutrient Analysis: Getting a Representative Result
Your result is only as good as the sample behind it. A single handful from one corner of a field can mislead you about the whole block. Sampling is where most errors creep in, long before the laboratory touches the bag.
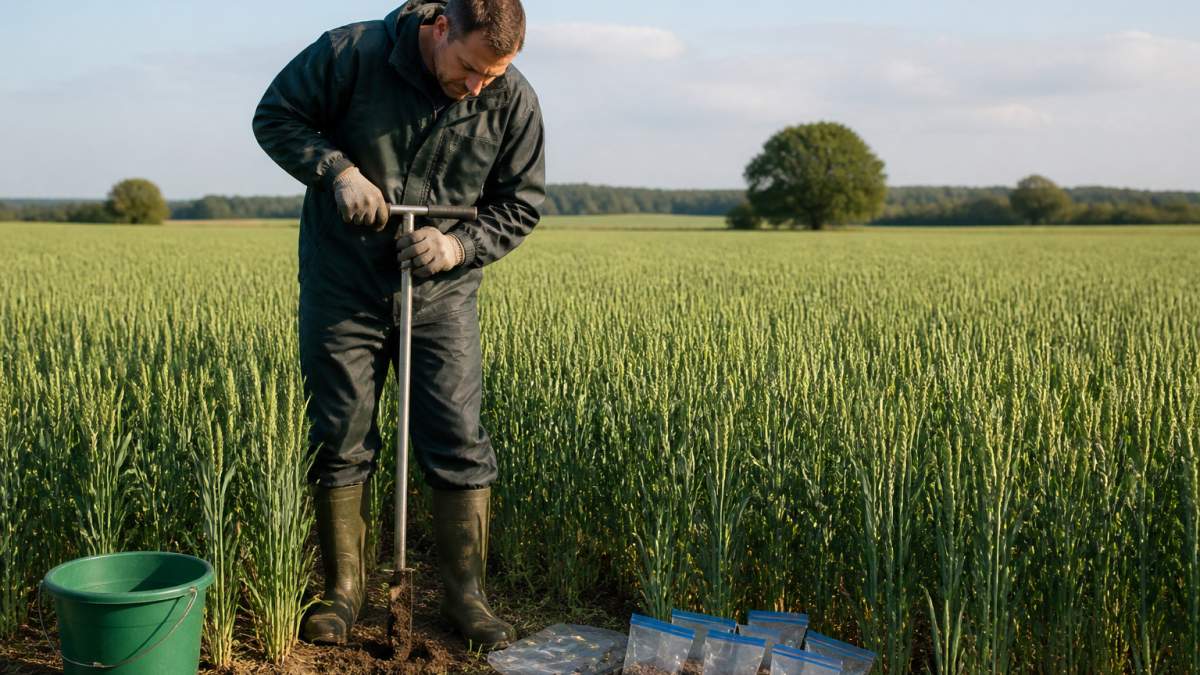
Sample each field zone separately where soil type, slope or past management differs. Take a consistent number of cores per zone, mixing them thoroughly before you bag a composite sample. Keep the sampling depth the same every time so results are comparable from year to year.
!A farmer in waterproof clothing taking soil cores from a wheat field with a stainless steel auger, the field stretching into the distance
Common mistakes to avoid:
- Sampling too close to field edges, gateways or old fertiliser heaps.
- Mixing samples from zones with very different soil types.
- Sampling when soil is waterlogged or unusually dry, which distorts handling.
Which Nutrients a Standard Soil Test Covers
Most standard packages report the macronutrients that crops draw in large amounts: phosphorus, potassium and magnesium, along with soil pH. Nitrogen is usually not measured directly in a routine test, because it moves quickly through the soil and changes with the weather. Micronutrients such as zinc, manganese, copper and boron are often available as add-on analyses.
Ask your laboratory exactly which nutrients are included. A package labelled "full analysis" can still omit the element you are worried about, so check the list before you send the sample off.
Soil Test Interpretation for Crops: Reading the Results
A soil test value on its own means little. It becomes useful only when you compare it to the crop's likely response at that level. Laboratories typically place each result in an index band, from very low to very high, and recommend more or less fertiliser accordingly.
Read the index band rather than the raw number. A value that sits just under a threshold may still produce a good yield, while a value just above it may leave a crop short if other factors are working against it. Track results over several seasons to spot trends, since one reading can be an outlier.
The table below summarises how to read a soil test result against what the crop is likely to need.
| Point | What it means | Practical note |
|---|---|---|
| Raw number | Not useful on its own | Compare against the index band |
| Index band | Runs from very low to very high | Laboratory sets the fertiliser advice |
| Value near a threshold | May still give a good yield | Consider other factors too |
| Single reading | Can be an outlier | Track results over several seasons |
Crop Nutrient Deficiency Symptoms and Why They Can Mislead
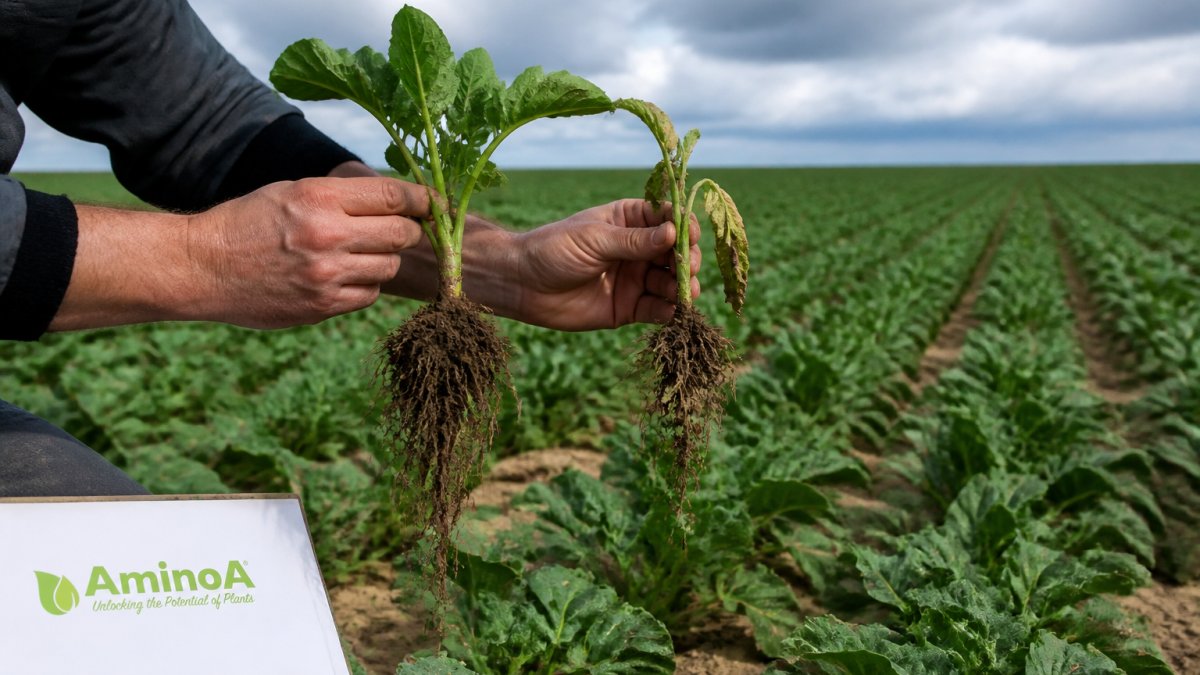
Visible symptoms, such as yellowing leaves or stunted growth, feel like proof of a nutrient shortage. In practice they can point to many causes. Waterlogging, compaction, disease, pests and herbicide injury can all produce symptoms that look like a nutrient problem.
This is why a soil test is a useful check, but not the final word. Compare what you see in the crop with the soil results, the weather record and the field history. Inspect the affected area against a healthy one nearby. A problem that follows the drainage line or the tramlines points somewhere other than nutrition. Local variations in soil types and health often dictate how nutrients behave within the profile, requiring a nuanced understanding of the underlying geology.
Watch out: Do not add a nutrient just because a leaf looks pale. Confirm the cause first, or you may waste money and still miss the real problem.
Plant Tissue Testing for Nutrient Deficiencies
Tissue testing measures nutrient levels inside the plant itself, usually in a recently matured leaf or a specified plant part at a set growth stage. It shows what the crop has actually taken up, which a soil test cannot confirm. This makes it a strong companion check during the season.
Tissue results have their own limits. A low reading can reflect waterlogged or compacted soil that blocks uptake, even when the soil itself holds enough of the nutrient. Interpret tissue results alongside soil results and field conditions, and sample at the stage the laboratory specifies so the comparison holds up.
Canola Council of Canada guidance makes this point clearly: a tissue deficiency does not automatically mean the soil lacks the nutrient, and saturated soil can prevent uptake (Canola Encyclopedia, Identifying Nutrient Requirements).
Booking Your Next Soil Test and Acting on the Results
Book your next soil test before the season's fertiliser plan is set, so results arrive in time to shape decisions. Agree the sampling plan with your agronomist, and keep a record of zones, dates and results so you can see changes over time.
When results show a shortfall, match the response to the crop stage and the likely cause. Recheck the field after treatment to see whether the change worked. For a deeper look at how amino acid biostimulants fit alongside a fertiliser programme, it is worth reviewing how to choose a suitable foliar fertiliser before you commit to a plan.
Keeping soil tests, tissue tests and crop observations in one place can help build a clearer picture of what your land needs.
Frequently Asked Questions
How do you test soil for crop nutrient deficiencies?
A soil test is carried out by collecting a representative set of cores from each field or management zone, mixing them, and sending a sub-sample to a laboratory. The lab applies extraction methods that estimate the fraction of each nutrient likely to be available to the crop, such as phosphorus, potassium, magnesium and pH. The result is an estimate of plant-available nutrients rather than a total count of what the soil contains, so it should be read alongside crop history, yield targets and any tissue results before fertiliser rates are set.
How often should agricultural soil be tested?
Many arable operations test on a rotation, often every three to four years, while fields with a history of nutrient problems, high-value horticultural crops or intensive cropping may be tested more frequently. Retesting after a major change in management, such as a shift from grassland to arable or a large liming application, is also sensible. The right interval depends on the crop, the soil type and how quickly nutrient levels have been changing, so agree a schedule with your agronomist.
Why can crops show deficiency symptoms when the soil test looks adequate?
A soil test measures an extractable fraction of nutrients, but whether a crop can take them up depends on conditions at the time. Waterlogged, compacted or cold soils can restrict root uptake, and high pH can lock up some nutrients. Symptoms may also reflect disease, pest damage or a herbicide effect. Checking the field conditions and, where needed, running a plant tissue test helps separate a true supply shortfall from an uptake problem.
What should I do if soil test results show a nutrient deficiency?
Start by checking that the sample was representative and that the lab's recommendation matches the crop you are growing. Then compare the result with your yield target and planned fertiliser programme, and apply the recommended rate in a way that suits the nutrient, such as banding phosphorus. Retest the field after the next crop cycle to confirm the trend. Pricing depends on product, quantity and delivery, so please check AminoA's website or request a quote for current figures.