 how-to
How to Manage Seedling Root Establishment Step by Step
Table of Contents
- What You'll Need Before You Start
- Step 1: Prepare the Seedbed for Even Root Establishment
- Step 2: Sow at the Right Depth and Spacing
- Step 3: Manage Soil Moisture and Temperature
- Step 4: Feed the Rhizosphere: Benefits of Rhizosphere Health for Crop Yield
- Step 5: Choose the Best Biostimulants for Root Development
- Step 6: How to Prevent Seedling Damping Off
- Common Mistakes to Avoid
- Frequently Asked Questions
Last Updated: September 24, 2026
What You'll Need Before You Start
Getting seedling root establishment right starts long before the seed goes in the ground. This guide from AminoA walks through the full process, step by step, from seedbed prep to disease prevention.
Seedling root establishment is the phase in which a germinating seed grows its first true roots and anchors itself into the soil. Get it right and the plant feeds itself for the rest of the season. Get it wrong and no amount of later inputs will fully rescue the crop.
Before you begin, gather the basics:
- A soil test result from the past 12 months
- A fine seedbed, worked to a firm, level tilth
- Calibrated seed drill or hand seeder
- Soil thermometer and moisture meter
- A planned biostimulant programme
- A sprayer or drenching can for later applications
A common mistake is treating root establishment as something that happens on its own. In practice, it is the single most controllable stage of the crop's life. The steps below show you how to manage it properly.
Step 1: Prepare the Seedbed for Even Root Establishment
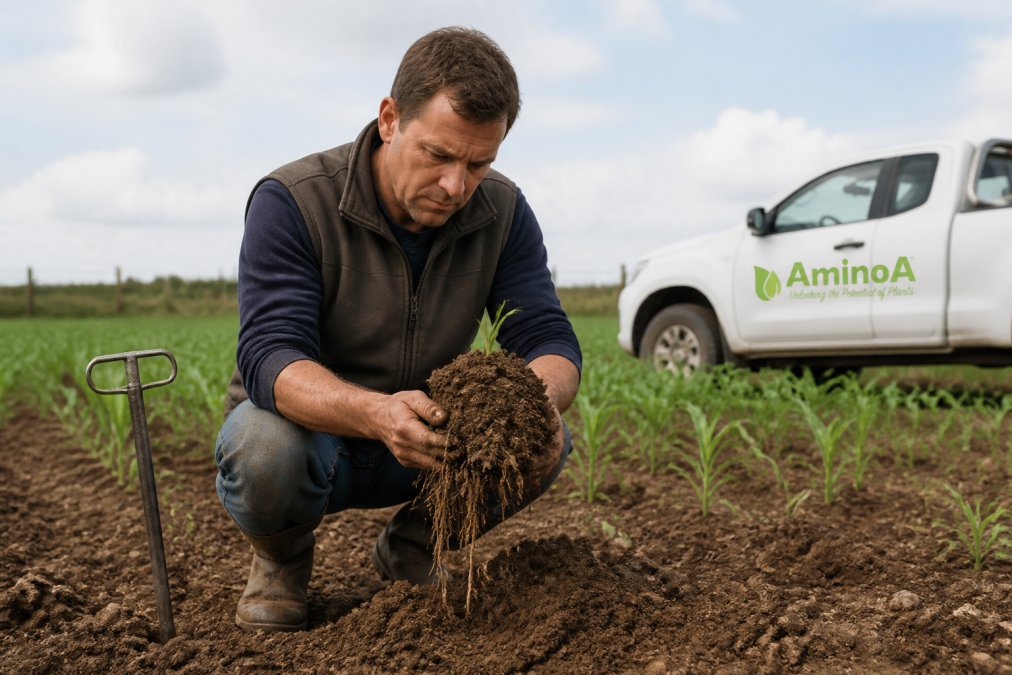
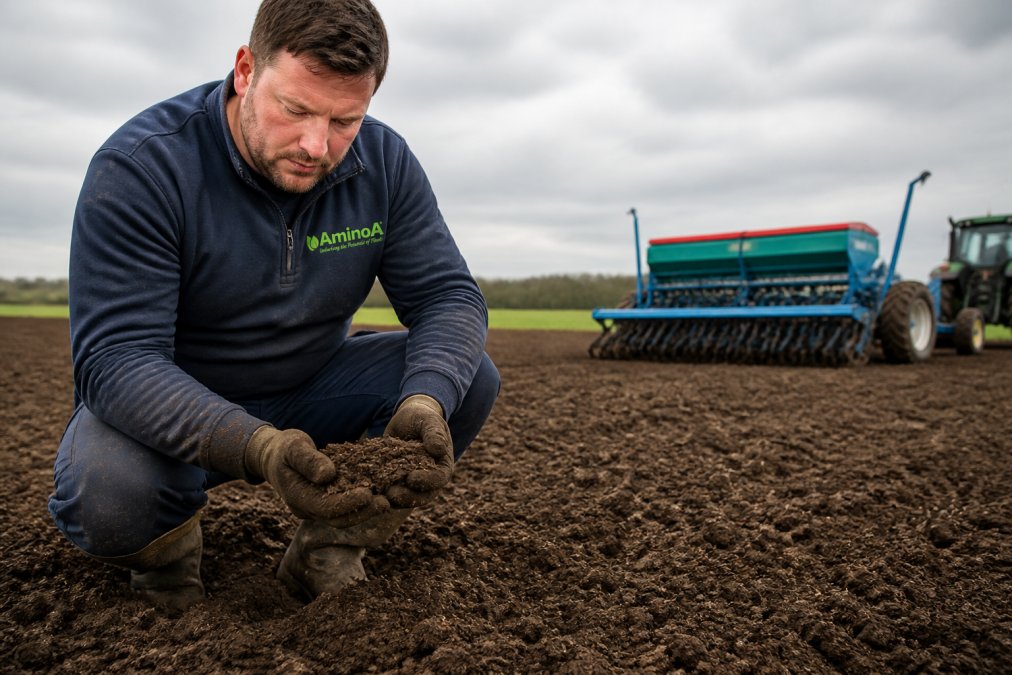
Roots grow where the soil lets them. A cloddy, uneven seedbed forces roots to fight their way down, and that stress shows up later as uneven emergence and weaker plants.
Good seedbed prep comes down to three things:
- Structure: Work the soil to a fine tilth, but do not over-cultivate. Overworked soil slumps and caps.
- Firmness: Roll before sowing so the seed sits in firm contact with moist soil.
- Depth: Aim for a level surface so every seed sits at the same depth.
Check moisture before you drill. Squeeze a handful of soil. If it crumbles instead of holding together, it is too dry. If it smears, it is too wet.
Step 2: Sow at the Right Depth and Spacing
Depth and spacing decide how much energy the seedling has left for root growth. Sow too deep and the shoot runs out of reserves before it reaches light. Sow too shallow and the roots dry out.
As a rule of thumb:
- Small seeds: 1-2 cm deep
- Larger seeds: 3-5 cm deep
- Spacing: follow the variety's recommended rate, then check your calibration
Run a short test pass first. Dig behind the drill and check ten seeds by hand. You are looking for consistent depth and even spacing, not just "close enough".
Root establishment depends on each seedling having room to spread. Crowded seedlings compete for water and nutrients from day one, and the weaker ones lose.
Step 3: Manage Soil Moisture and Temperature
Moisture and temperature drive how fast roots grow. Cold, waterlogged soil slows everything down and invites disease. Warm, moist soil gives roots the conditions they need to move.
Watch these two numbers closely in the first two weeks:
- Soil temperature: Most arable and horticultural crops germinate best once soil reaches roughly 8-10°C at sowing depth.
- Moisture: Keep the seed zone consistently moist, not saturated. Roots need air as well as water.
Irrigate little and often rather than flooding. Waterlogging starves roots of oxygen and is a leading cause of damping off, which we cover in Step 6.
Step 4: Feed the Rhizosphere: Benefits of Rhizosphere Health for Crop Yield
The rhizosphere is the narrow zone of soil directly around a plant's roots, where root exudates feed a dense community of bacteria and fungi. A healthy rhizosphere is one of the clearest drivers of crop performance.
The benefits of rhizosphere health for crop yield come down to a few practical effects:
- Better nutrient availability, because microbes break down locked-up nutrients
- Stronger root architecture, giving the plant more access to water
- Greater tolerance to stress from heat, cold and drought
Many growers focus on what they apply above ground and forget that the root zone is doing most of the work. Feed the soil life and the roots respond. AminoA's L-α amino acid biostimulants are designed to support exactly this, supplying the plant with amino acids it can use directly for root and shoot development.
Step 5: Choose the Best Biostimulants for Root Development
The best biostimulants for root development are those that supply the plant with ready-to-use amino acids and support soil biology, rather than simply adding more bulk nutrients. Amino acids are the building blocks roots use to grow.
When comparing options, look for:
- L-α amino acids: the form plants can actually take up and use
- A clear production method: enzymatic hydrolysis produces a full spectrum of amino acids
- Trace minerals: nitrogen, potassium, iron and magnesium support root and shoot growth
- Certification: essential if you are organic
AminoA manufactures 100% L-α amino acid biostimulants through enzymatic hydrolysis, with a high content of nitrogen, potassium, iron and magnesium. The company has 10 years of experience in the UK market, and its products are used to support root, leaf and bud development, plus resistance to cold, heat and drought.
Apply as a seed treatment or early foliar feed, before the plant hits stress. Timing matters more than rate. For current product options and pack sizes, check the AminoA website.
Step 6: How to Prevent Seedling Damping Off
Damping off is a soil-borne disease that kills seedlings at or just below soil level. It is the single biggest threat to young plants in the first few weeks.
To prevent seedling damping off, focus on the conditions that let it take hold:
- Do not overwater. Damping off thrives in saturated soil.
- Improve airflow. In protected cropping, ventilate to keep foliage dry.
- Use clean trays and tools. Fungal spores spread easily on dirty equipment.
- Avoid overcrowding. Thin seedlings so air can move between them.
- Keep soil temperature steady. Cold, wet soil weakens seedlings and invites infection.
Once damping off takes hold in a tray or bed, it spreads fast. Prevention is far easier than cure, so build these habits into your routine from sowing day.
Common Mistakes to Avoid
Most root establishment failures trace back to a handful of avoidable errors. Here is a quick summary:
| Mistake | Why It Hurts | The Fix |
|---|---|---|
| Drilling into dry soil | Seeds never take up water | Check moisture first, irrigate if needed |
| Sowing too deep | Shoot runs out of reserves | Match depth to seed size |
| Overwatering | Starves roots of oxygen, invites disease | Water little and often |
| Ignoring soil temperature | Slow, uneven germination | Wait for 8-10°C at depth |
| Skipping biostimulants | Weaker roots, less stress tolerance | Feed the rhizosphere early |
| Dirty trays and tools | Spreads damping off | Clean between every batch |
The pattern is consistent: the growers who get root establishment right are the ones who prepare properly and act early. Root development happens in a short window, and what you do in that window sets the ceiling for the rest of the season.
Root establishment is the stage where you have the most control and the least room for error. If you want stronger roots, better stress tolerance and more consistent yields, the answer often lies below the soil surface. AminoA supplies 100% L-α amino acid biostimulants, made through enzymatic hydrolysis and rich in nitrogen, potassium, iron and magnesium, to support root development and protect crops against cold, heat and drought. Get started with AminoA and give your seedlings the foundation they need for a stronger harvest. Subscribe to our newsletter for more practical growing guidance.
Frequently Asked Questions
What are the signs of healthy seedling root development?
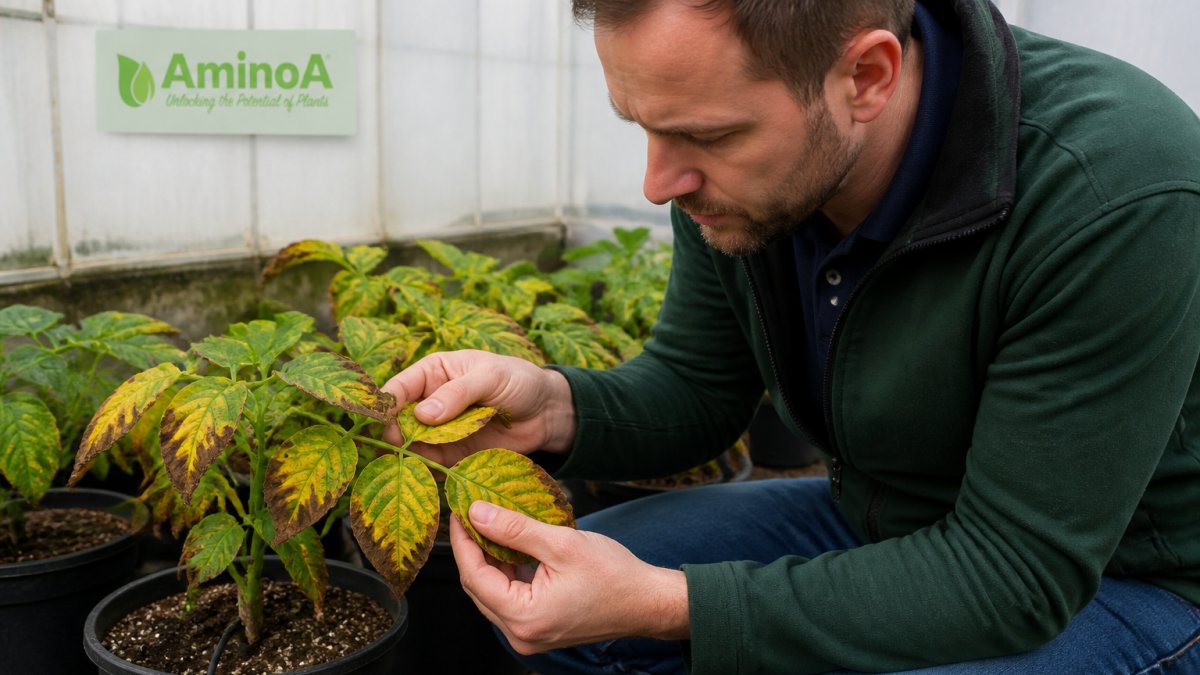
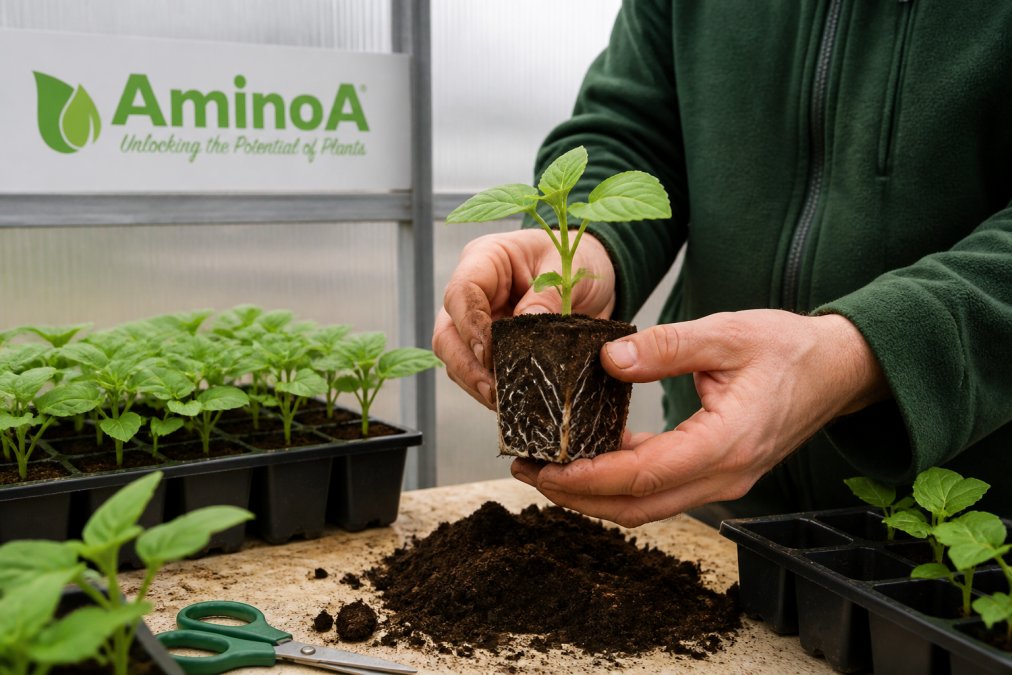
Healthy seedlings show white, branching roots that spread evenly through the soil, with fine root hairs visible along the length. The root system should hold together when you lift a seedling, and the root-to-shoot ratio should be balanced. Yellowing, stunted roots or brown lesions indicate problems. Checking roots two to three weeks after sowing gives you the earliest signal of whether your seedling root establishment is on track.
How does soil moisture affect early root establishment?
Roots grow towards moisture, so uneven soil moisture produces uneven root systems. Dry pockets force roots to branch abnormally, while waterlogged conditions starve roots of oxygen and encourage damping off. Aim for consistently moist but free-draining soil in the top 15cm. Irrigate in smaller, more frequent applications rather than heavy drenches, and check moisture at root depth, not just at the surface.
What role do biostimulants play in seedling root growth?
Amino acid biostimulants supply ready-made L-α amino acids that seedlings use to build root tissue without spending energy on synthesis. This matters most during early growth when the plant's own reserves are limited. Products produced through enzymatic hydrolysis contain the full range of essential amino acids in the L form, which plants can absorb directly. Applying them at sowing and early establishment supports root mass, stress tolerance and even uptake of nutrients.
How do you prevent root rot in young seedlings?
Prevention starts with clean seed, well-drained seedbeds and avoiding overwatering. Space plants to allow airflow, and keep soil temperatures above 10°C where possible, as cold, wet conditions favour root pathogens. Avoid excessive nitrogen, which produces soft growth that rots easily. If you see damping off, improve drainage immediately and consider a biological control. For organic systems, choose certified inputs that won't compromise your compliance.